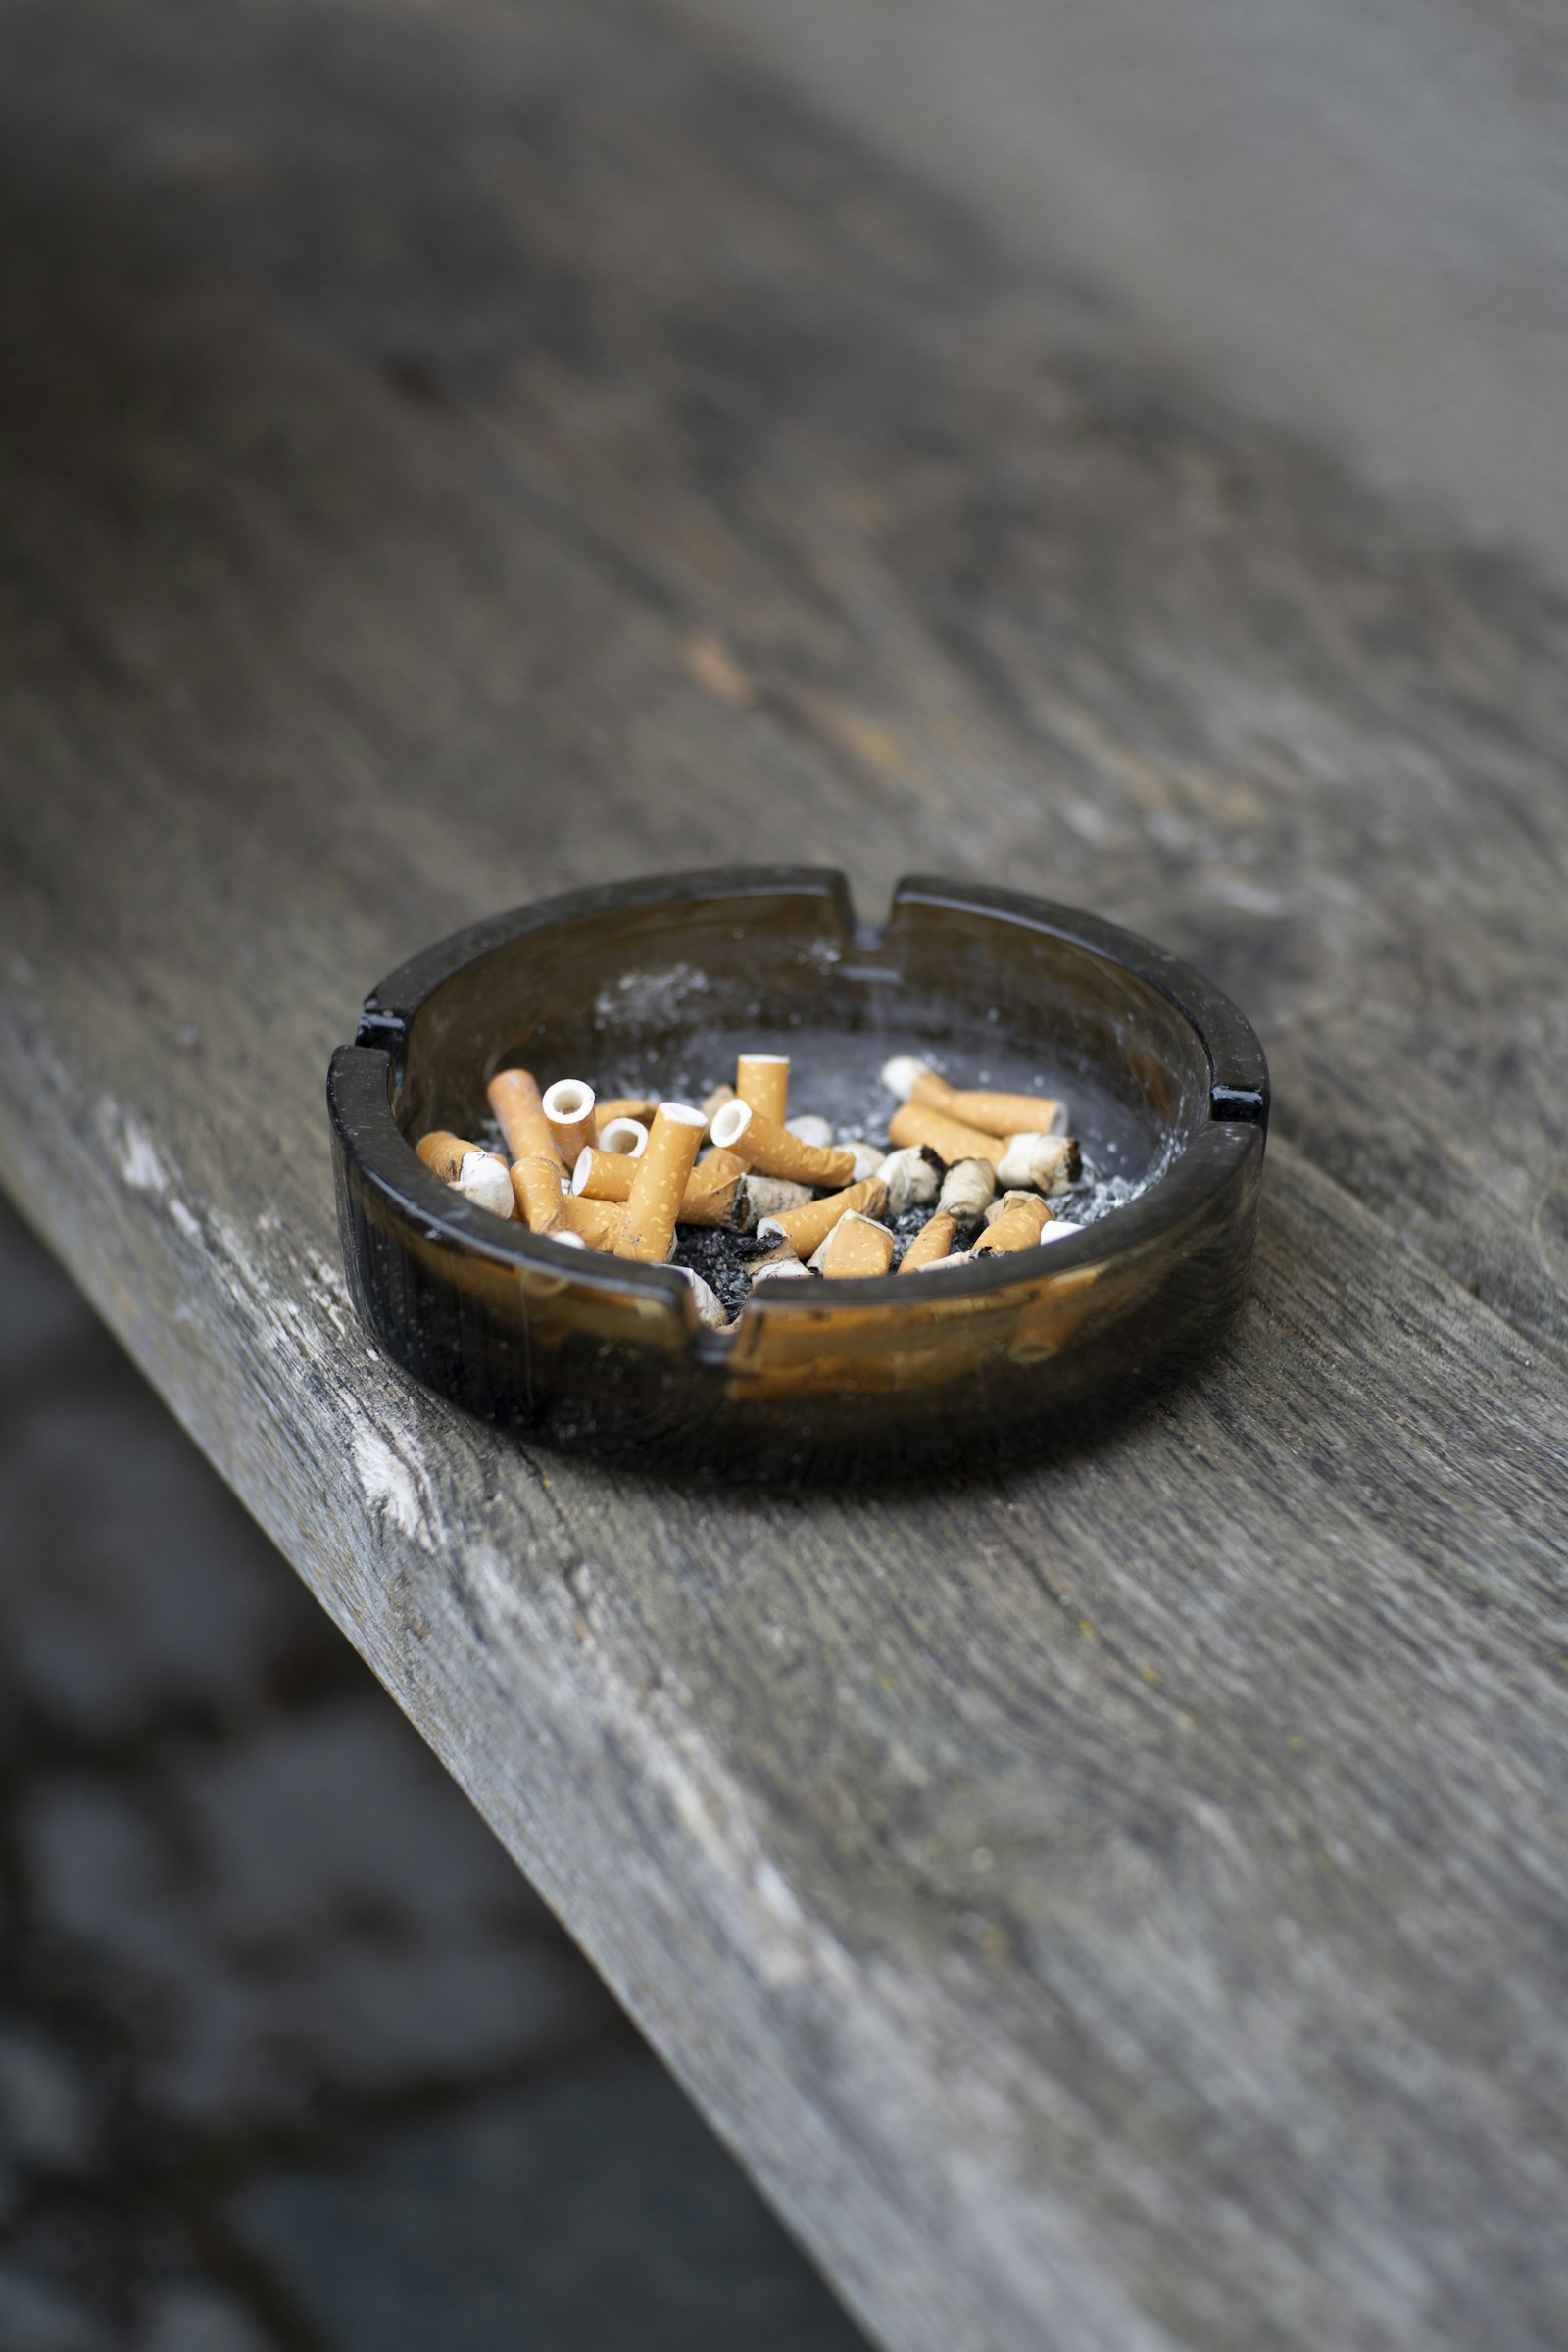
Curb Appeal tips – more than just what meets the eye!
When getting your home ready for the market, people will often concentrate on the inside of your home- as you should! But the first impression really starts right when the buyers pull up out front.
Here are 5 simple ways to improve your curb appeal, and get buyers thinking “YES!” right from the start!
We answer all the questions you have been asking when it comes to closing a Winnipeg real estate transaction. OK maybe not all but we answered the biggest ones! Chapters below to skip to a question you have! Thanks to Jeremy Feuer Check him out at https://www.jmflawcorp.ca
You guys said you wanted to wait until the market softened! Well here it is!
#winnipegrealestate #winnipegrealtor #manitobarealestate #manitobarealtor #realtor #realestate #century21 #century21advanced #archambaultteam #c21 #openhouse #newlisting #forsale #justlisted #sold
Not every home sale or purchase is on the market. With the right Real Estate Team in your corner there are a ton of potential opportunities out there for you!
#winnipegrealestate #winnipegrealtor #manitobarealestate #manitobarealtor #realtor #realestate #century21 #century21advanced #archambaultteam #c21 #openhouse #newlisting #forsale #justlisted #sold
When you're ready to find a new home, where do you go … besides REALTOR.ca (obviously) What do you look for?
Beyond the number of bedrooms or bathrooms, stainless steel appliances or proximity to transit, sometimes it's more than the tangible. It's the space itself. The people in that space. The activities and atmosphere those people provide. It's the neighbourhood or community.
REALTORS® across Canada live and breathe that sense of community. The team here at REALTOR.ca is proud to help shine a light on those who do outstanding charitable work in the communities where they live and work as the presenting sponsor of this year's Canadian REALTORS Care® Award.
Previous recipients of this award include Vince Mirabelli of Thunder Bay, Laura-Leah Shaw of Vancouver, and Carolyn Swinson of Toronto. 15 REALTORS® were nominated by friends, fellow REALTORS® and charity representatives for the honour this year.
While Gregg Bamford of Saskatoon and John Patricelli of Burnaby received honourable mentions, it was Winnipeggers Geoff and Regan Archambault who took home the big prize and whose charity of choice—K.I.D.S. Kenya Initiative for Development & Sustainability Inc.—will receive a $5,000 donation from the Canadian Real Estate Association.
Geoff and Regan Archambault are a husband and wife team who are renowned in their city as generous donors, effective board leaders and community builders. When Geoff and Regan started out on their giving journey, they did so by stepping up in areas that affected their family life. They got involved with their local community centre, where their kids played sports. Over the years, they branched out and took on more and more (and more!) volunteer roles for charities and causes that spoke to them. They have left an indelible mark on many organizations, including the Concordia Foundation and K.I.D.S. Initiative.
Simply put, Geoff and Regan are making their beloved Winnipeg a better place to be. “We all know, not only as REALTORS® but as community members that you don't just buy a home,” Regan explains. “You're not just buying four walls and a roof, you're buying into a community, investing into a community.”
When it comes to investing in a community, Geoff and Regan have gone above and beyond. One example is their revitalization of a local park, now fittingly named after them—Archambault Park. It's there that, for the past eight years, the Archambaults have hosted a free family fun day each summer for the enjoyment of their neighbours.
The wonderful feedback they receive from families who use the park and attend their events is what keeps them going year after year. “Getting a random call from a woman enjoying the park with her grandchild, who calls to say thank you for what you've done, that's what makes it all worth it,” shares Geoff. “It's very motivating to do more because you know it makes a difference,” adds Regan.
Want to get to more involved with your community? Based on Geoff and Regan's charitable experiences, here are three tips:
With spring just around the corner you’re probably starting to prepare your spring cleaning chore list! Make sure to add to the list your homes light fixtures. I’ll admit this is something that I don’t like to do often as its really tedious and time consuming but is defiantly necessary. Unfortunately light fixtures in your home are a huge dust and dirt magnet so it does require cleaning ever so often. Here are just a few easy ways to keep your lights/fixtures shining bright and looking fantastic!
To maintain the dust that collects on your fixtures/light bulbs it’s best to do a weekly or even daily dust. A weekly dust should be sufficient enough to keep your fixtures from drowning in dirt! First thing is first as everyone is most likely aware, you should never ever clean your light bulbs/fixtures with the lights turned on. You put yourself at risk of getting burned or even getting electrocuted depending on the type of fixture you have so please remember to turn the lights off before starting to clean. For best results I myself find Swiffer dusters to lock in the dust and dirt most efficiently. If you don’t use/buy Swiffer products then you can use a step ladder or chair whatever works for you to reach your ceiling fans and fixtures, use a microfiber cloth to dust which will do the trick just as well.
For a deeper clean whether you have dome lights, pot lighting or chandeliers you should remove all pieces from the ceiling and carefully place them in your sink with warm soapy water and wash them thoroughly. Don’t forget to remove your light bulbs, to clean the bulbs just wet a microfiber cloth with warm water and give it a good wash. Let everything fully air dry before putting back together and installing back onto your ceiling.
To be honest you shouldn’t have to do a deep clean often at all if you are doing a weekly dust. It really does make a difference in your home when your lighting is kept dust and dirt free. I hope that these simple steps will give you a bright new look!
Besides your home your car is someplace that you potentially spend a lot of time in so it is very nice to keep it clean and tidy! If you have the time and don’t want to spend extra money to get your vehicle professionally detailed then here are just a few tips on giving your car the cleaning it deserves right at home!
First you should start with the carpets, if you have an air compressor use it to blow out the dust and dirt in the hard to reach corners then give it a nice vacuum (do the seats as well). You will want to wash the carpets next so if you have a carpet cleaner that would be easiest to use but if not you can either rent one or simply get a strong wash brush with really good bristles and wash the carpets in a circular motion. You can use any type of carpet cleaner soap. Then before doing anything else let fully dry before stepping on them.
Seats, you can either steam clean them with a regular carpet cleaner or steam cleaner or do it by hand using the same method and washing the carpets and then let dry. If you have leather seats use a cleaner with aloe in it, it’s easy on the leather and makes them look really shiny!
Next get a bucket and fill with warm water and any kind of car cleaner for the interior (dash, doors etc.) Wash everything down completely and I would even take a dry towel and dry it yourself just so that no streaks get left behind! I like to wash everything with a microfiber cloth, I find that they really wash well and leave less marks after.
After all of this has fully dried I would do your windows next, this is an easier part cause all you have to do is use your classic window cleaner (Windex) and it will sure to shine. Note after washing the window I would dry right away with a microfiber cloth.
Lastly the outside, now you can always go to a car wash to do this but personally there is nothing like a true hand wash on your car to really make sure the job is done right! When you hand wash you can really see if there is any dirt left behind and you can get into those really tough small parts of the car easily. The most important part of washing a car is to DRY it afterward! This is important because after washing it streaks get left behind and it can make it look just as bad as the dirt looked on it. This may take you and extra 10 or 15 minutes but it is so worth it!
Have fun everyone making your vehicles look brand new again!
No one like to look out a window that you just cleaned and see nothing but water spots all over it. Or even when using house hold cleaners like Windex this can leave water streaks. Here are just a few simple ways to reduce this problem so you don’t have to re wipe them down.
Use vinegar and water. Use an old spray bottle and mix a half and half solution of vinegar and water. Spray onto your window, if you have a few spots that are pretty bad then spray the solution on the spot a few times. Wet or soak a rough cleaning towel with the solution and scrub the windows, after you will want to let the vinegar and water solution sit and works its magic 5-10 minutes should be long enough depending on how bad your water spots are (you can be the judge of that) Then re spray the window with you solution and use a rough dry towel to wipe off.
Toothpaste. Toothpaste is so great when trying to remove tough stains. Make a paste with water and the toothpaste don’t use to much water as you don’t want to dilute it too much. Rub the past onto the spots and let sit for about 5 minutes. Then take a towel, brush or sponge and scrub the spot, then use water to wash the paste off your windows. Last step is to take your everyday glass cleaner that you use and wash normally but be sure to dry the window fully or else you will risk having those spots re appear!
Baking Soda & Vinegar. In an open container mix equal parts vinegar and baking soda, this solution with bubble and you can either wait till the bubbling has stopped to apply to your windows or you can apply while it’s bubbling this won’t affect how it works in any way. Apply to the spot with a towel, cloth or sponge personally I like using an old tooth brush for all 3 of these methods the bristles on the tooth brush help scrub the areas better. Let sit for about 5 minutes and wash away with water. Final step just like using the toothpaste method is to use any traditional glass cleaner and dry completely.
I hope these 3 easy and simple methods and solutions will help you look through a clean and shiny window spot free!